Installing a cooling system in your home is a big decision that affects your comfort and energy bills for years to come. The installation process typically involves choosing the right system size, having a licensed professional handle the electrical work and refrigerant setup, and ensuring everything meets local building codes. Getting it done right the first time saves you money and prevents future headaches.
You might wonder if you need to replace your old air conditioner or if a simple repair will do. Understanding what happens during installation helps you make smart choices about your home’s cooling needs. The right system keeps your family comfortable during hot months without wasting energy.
This guide walks you through everything you need to know about cooling system installation. Here’s what you need to know:
- Understanding modern cooling system options for homes
- Importance of proper installation
- Professional cooling system installation process
- Key factors influencing installation costs
- Advantages of upgrading to a new system
Keep reading to learn which cooling system fits your home, what professional installation actually involves, and how to avoid the most common mistakes that lead to higher energy bills.
Understanding modern cooling system options for homes
Modern homes have three primary cooling options that differ in installation requirements, efficiency levels, and how they distribute cool air. Each system type offers distinct advantages depending on your home’s layout, existing infrastructure, and cooling needs.
Central air conditioning systems for whole-home coverage
Central air conditioning remains the most popular cooling option in residential homes. This system uses a network of ducts to distribute cooled air to every room through vents in your walls, floors, or ceilings.
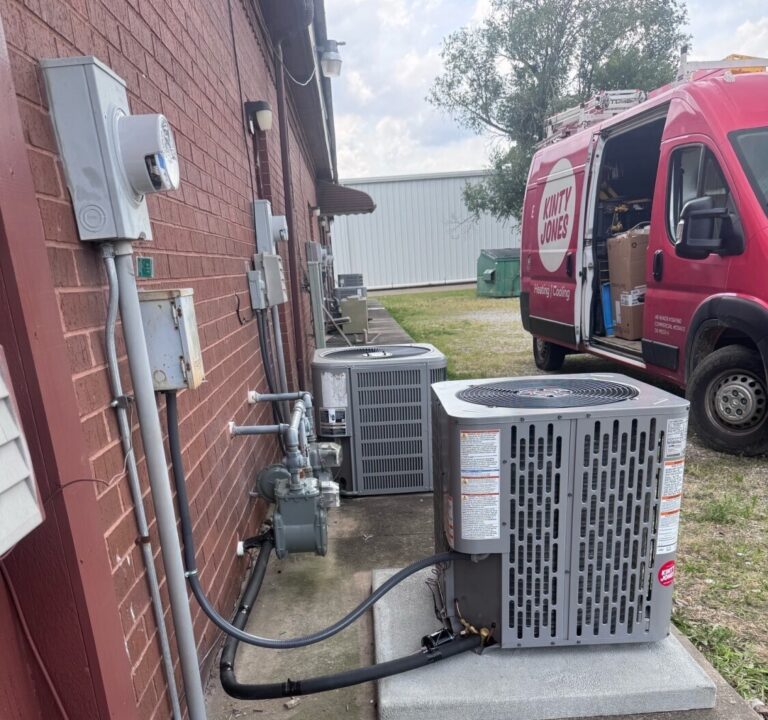
The system includes an outdoor unit containing a compressor and condenser, plus an indoor unit with an evaporator coil. A refrigerant flows between these components, absorbing heat from inside your home and releasing it outside.
You need existing ductwork throughout your home for central air to work effectively. If your home already has ducts from a forced-air heating system, installation becomes simpler and less expensive. The system cools your entire home uniformly, maintaining consistent temperatures across all rooms.
Key benefits:
- Maintains even temperatures throughout your home
- Works quietly since the main components stay outside
- Adds value to your property
- Integrates with existing heating systems
Central air works best for larger homes where you need consistent cooling across multiple rooms simultaneously. The system requires professional maintenance twice yearly to keep it running efficiently.
Ductless mini-split systems for flexible cooling zones
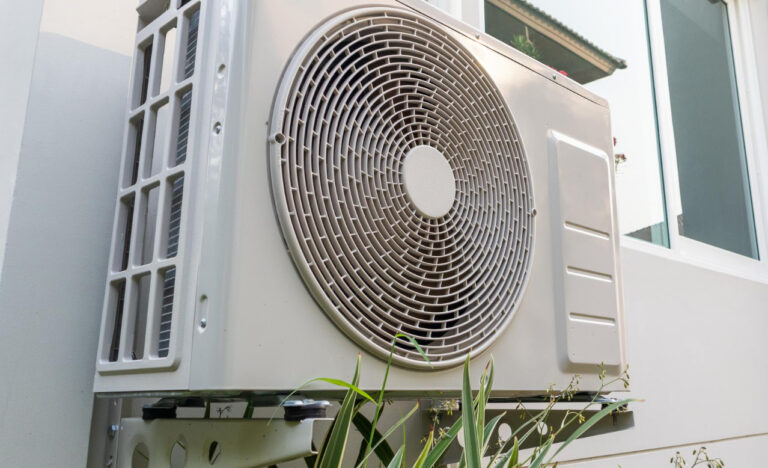
Ductless mini-split systems provide targeted cooling without requiring ductwork. These systems connect one outdoor compressor unit to multiple indoor air handlers mounted on walls or ceilings in different rooms.
Each indoor unit operates independently with its own thermostat. You can cool specific rooms or zones while leaving others unconditioned, which reduces energy waste. This makes ductless AC installation ideal for room additions, converted garages, or older homes without existing ducts.
The installation process involves drilling a small hole through your wall to connect refrigerant lines and electrical wiring between indoor and outdoor units. This takes less time and causes less disruption than installing ductwork.
Common applications:
- Home additions or renovations
- Multi-story homes with temperature variations
- Rooms that need independent temperature control
- Historic homes where duct installation is impractical
You control each zone separately, so family members can set different temperatures in their spaces. The units mount high on walls, keeping floor space clear while distributing air efficiently throughout the room.
Heat pump systems for energy-efficient performance
Heat pumps function as energy efficient cooling systems by transferring heat rather than generating it through combustion. During summer, they extract heat from inside your home and move it outdoors, just like a standard air conditioner.
The major advantage appears in winter when the system reverses to pull heat from outside air and bring it indoors. Even cold air contains thermal energy that heat pumps can extract and concentrate. This dual functionality eliminates the need for separate heating and cooling systems.
According to the U.S. Department of Energy, modern heat pumps can reduce electricity use for heating by up to 75% compared to electric resistance systems like baseboard heaters. You can also reduce your cooling costs by 30-40% compared to traditional air conditioning units.
Two main types exist: air-source heat pumps that exchange heat with outdoor air, and ground-source (geothermal) systems that use stable underground temperatures. Air-source models cost less upfront and suit most residential applications.
These systems work best in moderate climates where extreme temperature swings are uncommon. Your home needs either existing ductwork or individual air handlers in each room for proper distribution.
Importance of proper installation
A cooling system that’s installed correctly will use less energy, maintain comfortable temperatures throughout your home, and last longer before needing replacement. Poor installation leads to higher bills, inconsistent cooling, and frequent repairs.
Ensuring energy efficiency and lower utility costs
When your cooling system is installed properly, it uses only the energy needed to keep your home comfortable. The technician must correctly size your unit based on your home’s square footage, insulation levels, and climate zone. An oversized unit will cycle on and off too frequently, wasting energy and failing to remove humidity. An undersized unit will run constantly without cooling your home adequately.
The refrigerant charge must match manufacturer specifications exactly. Too much or too little refrigerant forces your system to work harder, increasing energy consumption by 5-20%. Ductwork needs proper sealing at all joints and connections. Leaky ducts waste 20-30% of cooled air before it reaches your living spaces.
Your thermostat placement also affects efficiency. Installing it near heat sources, in direct sunlight, or in drafty areas causes inaccurate temperature readings. This makes your system run longer than necessary, driving up your utility costs every month.
Preventing airflow issues and uneven cooling
Proper airflow keeps every room in your home at a consistent temperature. Your installer must size and place return vents and supply registers according to each room’s cooling load. Rooms without adequate airflow will feel stuffy and warm while others become too cold.
Ductwork requires careful attention during installation. Ducts that are crushed, kinked, or poorly connected restrict airflow and create hot spots. Each duct run needs proper support to prevent sagging. Sharp bends should be avoided because they disrupt air movement.
The air filter must fit correctly in its housing with no gaps around the edges. Gaps allow unfiltered air to bypass the filter and enter your system. Your installer should also verify that all dampers are functioning and positioned correctly for balanced air distribution.
Extending the lifespan of HVAC equipment
A properly installed cooling system typically lasts 15-20 years, while poor installation can cut that lifespan in half. Incorrect refrigerant levels cause your compressor to overheat and fail prematurely. This is one of the most expensive components to replace.
Electrical connections must be tight and properly sized for your system’s power requirements. Loose connections create resistance, generating excess heat that damages wiring and components. Your installer should check voltage levels and ensure your electrical panel can handle the system’s demands.
The condensate drain line needs proper pitch and clear access for maintenance. A poorly installed drain line will clog, causing water damage and automatic system shutdowns. The outdoor unit requires level installation on a stable pad with adequate clearance for airflow and service access.
Professional cooling system installation process
Professional HVAC installation services follow a structured approach that includes evaluating your home’s specific needs, selecting the right equipment, and verifying proper system operation through detailed testing.
Home evaluation and cooling load calculation
A trained technician begins by measuring each room in your home to determine the total square footage. They inspect your insulation quality, window types, ceiling heights, and the number of occupants who live in your space. This information helps calculate your home’s cooling load, which shows exactly how much cooling capacity you need.
The technician also checks your existing ductwork for leaks, damage, or sizing issues. They examine your electrical panel to confirm it can handle the new system’s power requirements. Your home’s orientation, sun exposure, and local climate data all factor into the calculation.
Key factors in cooling load assessment:
- Square footage of each room
- Insulation R-values in walls and attic
- Number and size of windows
- Heat-generating appliances
- Number of occupants
This evaluation prevents undersized systems that can’t cool your home properly or oversized units that waste energy and create humidity problems.
System selection and preparation of installation area
Your technician recommends equipment based on your cooling load calculation and energy efficiency goals. They help you choose between central air systems, heat pumps, or ductless mini-splits that match your budget and home layout. You’ll receive details about SEER ratings, which indicate energy efficiency levels.
The installation team prepares your space by clearing pathways to the installation areas. They protect your floors and furniture with drop cloths. For outdoor units, they level the concrete pad or install a new one if needed.
They verify that all required components arrived, including the condenser unit, air handler or furnace, refrigerant lines, electrical disconnect boxes, and thermostat. The team reviews local building codes to ensure compliance with permit requirements for your home cooling system setup.
Installation, testing, and performance verification
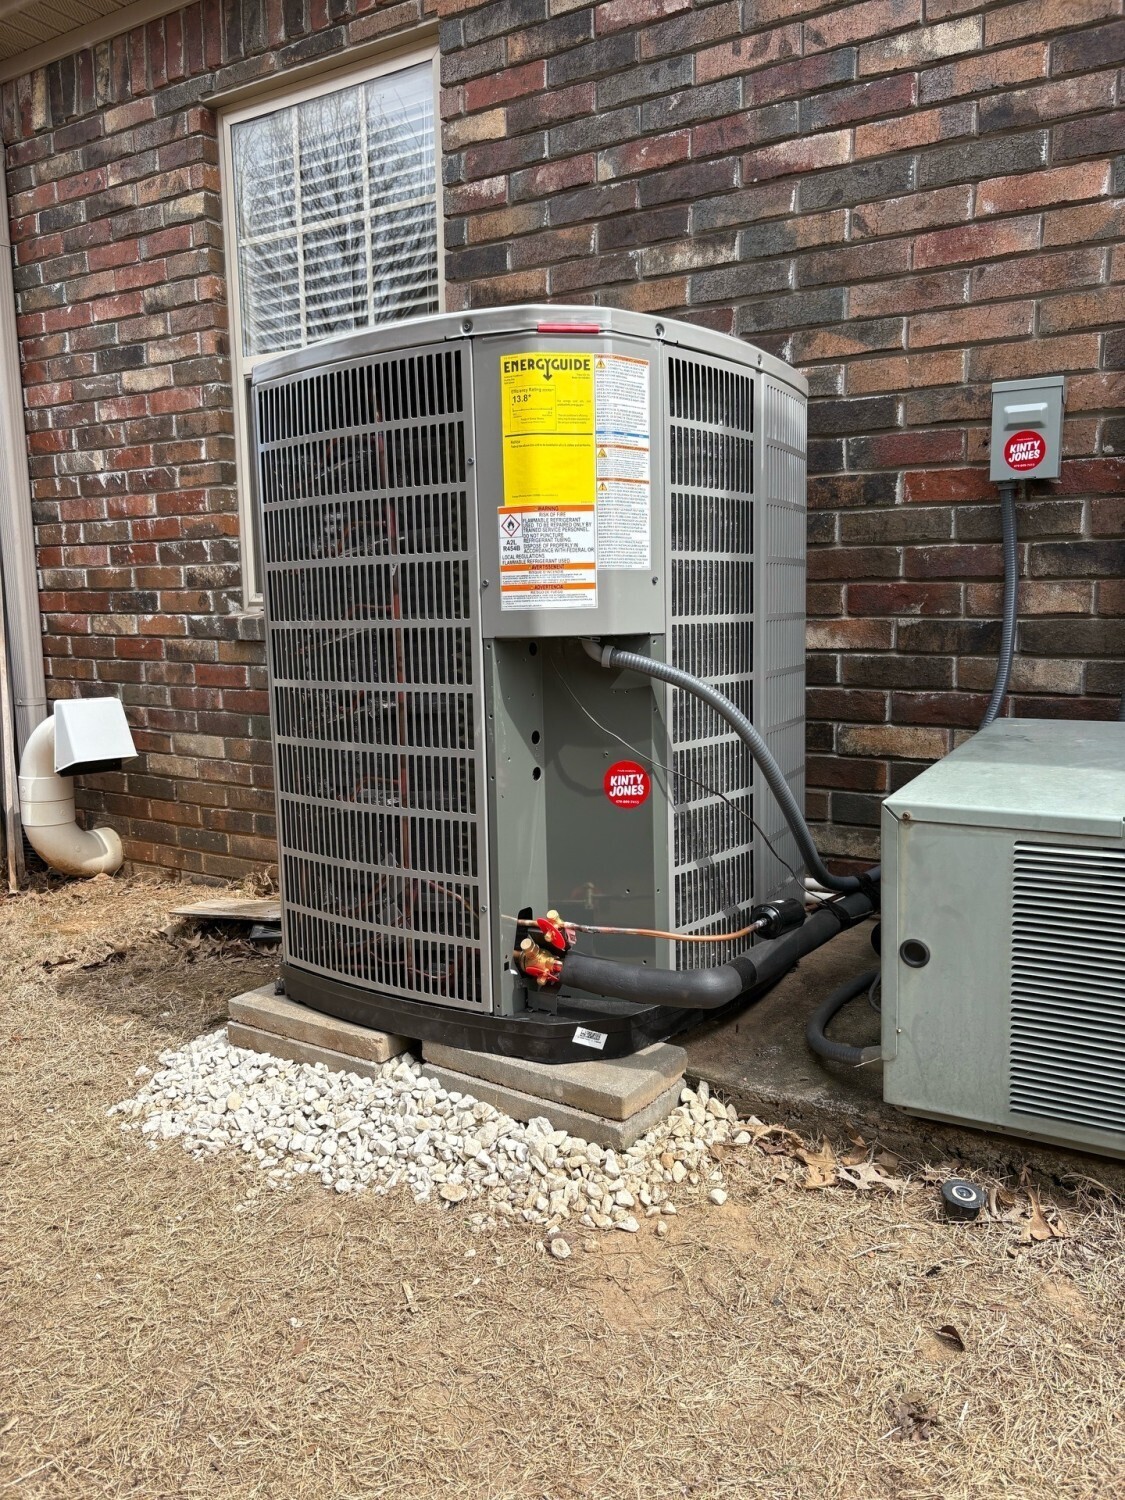
The installation crew mounts the outdoor condenser on the prepared pad and secures it with anchor bolts. They install the indoor air handler in your designated location, whether that’s an attic, basement, or closet. The team connects refrigerant lines between units, ensuring proper insulation and secure fittings.
Electrical connections link both units to your breaker panel with appropriately sized wiring. The technicians install or replace your thermostat and run new wiring if necessary. They connect and seal all ductwork joints to prevent air leakage.
Testing procedures include:
- Checking refrigerant charge levels
- Measuring airflow at each register
- Verifying electrical voltage and amperage
- Testing thermostat programming and response
- Inspecting drain line operation
The technician runs the system through multiple cooling cycles to confirm proper operation. They measure temperature drops across the evaporator coil, which should fall within manufacturer specifications. You receive instruction on system operation, filter replacement schedules, and warranty registration information.
Key factors influencing installation costs
The price you pay for a cooling system depends on three main areas: the equipment specifications, your home’s existing infrastructure, and the work required to complete the installation. Each of these factors directly impacts the final central air installation cost.
System size and efficiency rating requirements
Your home’s square footage determines the cooling capacity you need, measured in tons or BTUs. A 1,500 square foot home typically needs a 2 to 2.5-ton unit, while a 2,500 square foot home requires 3.5 to 4 tons.
Energy efficiency ratings affect both upfront and long-term costs:
- SEER ratings (Seasonal Energy Efficiency Ratio) range from 14 to 25+
- Higher SEER units cost more initially but reduce monthly utility bills
- A 16 SEER system costs 15-25% more than a 14 SEER model
Choosing the wrong size costs you money either way. An undersized unit runs constantly without cooling your home properly. An oversized system cycles on and off too frequently, wasting energy and wearing out components faster.
The brand you select also influences pricing, with premium manufacturers charging more for advanced features and longer warranties.
Ductwork condition and necessary modifications
Your existing ductwork condition significantly impacts installation expenses. Old or damaged ducts often need repairs or replacement before a new system can work efficiently.
Homes without existing ductwork face the highest costs since installers must design and install a complete duct system. This work involves running metal or flexible ducts through walls, attics, and crawl spaces.
Common ductwork issues include:
- Leaks that waste 20-30% of cooled air
- Poor insulation in unconditioned spaces
- Undersized ducts that restrict airflow
- Disconnected sections that need reconnecting
Sealing and insulating existing ducts adds to your total cost but improves system performance. Some homes need additional vents or register replacements to balance airflow properly across all rooms.
Time complexity and installation timeframe
Standard installations in homes with good ductwork take 6 to 8 hours. Complex jobs requiring ductwork modifications or electrical upgrades can take 2 to 3 days.
Labor rates vary by location, with urban areas typically charging $75 to $150 per hour compared to $50 to $100 in rural regions. Multiple technicians working simultaneously increase hourly costs but reduce total installation time.
Installation complexity increases when you need:
- Electrical panel upgrades to handle system load
- Condenser placement in difficult locations
- Custom mounting solutions for indoor equipment
- Multi-zone systems with separate controls
Seasonal demand affects both scheduling and pricing. Installing during peak summer months often costs 10-15% more than spring or fall installations. Your installer’s experience level also matters, as skilled technicians complete work faster with fewer callbacks.
Advantages of upgrading to a new system
A new cooling system delivers measurable improvements in comfort, operating costs, and indoor air quality while reducing the frequency of repairs and system failures.
Improved indoor comfort and temperature control
Modern cooling systems maintain consistent temperatures throughout your home without the hot and cold spots common in older units. New systems respond faster to thermostat adjustments and reach your desired temperature more quickly.
You gain access to advanced features like multi-stage cooling and variable-speed fans that adjust output based on current conditions. These features prevent the temperature swings that occur when older systems constantly turn on and off.
Newer systems also operate more quietly than units from 10 or 15 years ago. You won’t hear the loud startup sounds or constant humming that older equipment produces.
Zone control options let you set different temperatures in different rooms. This means you can keep bedrooms cooler at night while using less energy in unused spaces.
Enhanced energy efficiency and reduced costs
A new cooling system uses 30% to 50% less energy than models over 10 years old. This translates to lower monthly utility bills starting with your first cooling season.
According to the U.S. Department of Energy, homeowners can save as much as 10% per year on heating and cooling simply by adjusting thermostat settings 7 to 10 degrees for 8 hours a day, and modern systems with programmable controls make this automatic. Over the lifespan of the system, these savings add up to thousands of dollars.
Modern units meet stricter efficiency standards and often carry ENERGY STAR ratings. Higher SEER ratings mean better performance and lower operating costs.
New systems also reduce your carbon footprint by consuming less electricity. You get the comfort you need while using fewer resources.
Better air quality and system reliability
New cooling systems include advanced filtration that removes allergens, dust, and pollutants from your indoor air. These filters capture smaller particles than older systems can handle.
You’ll experience fewer breakdowns and repair calls with a new system under warranty. Older units require frequent fixes that become costly and inconvenient.
Modern equipment includes diagnostic features that alert you to potential issues before they cause system failures. This prevents unexpected breakdowns during the hottest days of summer.
New installations come with manufacturer warranties that cover parts and often labor for several years. You gain peace of mind knowing major repairs won’t create financial stress. A Kinty Club membership pairs well with a new system, keeping it maintained and prioritized for service year-round.
Conclusion
Installing a cooling system requires careful planning and attention to detail. You need to consider multiple factors before starting your project, including the type of system that fits your space, your budget, and your long-term energy goals.
Your choice of contractor matters significantly. You should work with licensed professionals who understand local codes and manufacturer requirements. They can help you avoid common mistakes that lead to higher energy bills and repair costs.
The installation process involves several critical steps. Your contractor will handle system design, equipment selection, ductwork setup, and performance testing. Each step affects how well your system works and how much energy it uses.
You should discuss timelines and expectations with your contractor before work begins. Understanding what disruptions to expect makes the process easier to manage. Most installations take one to three days, depending on system complexity.
The right cooling system installation improves comfort, reduces energy costs, and adds value to your property. Taking time to plan properly and working with qualified professionals helps ensure you get the results you want. Contact Kinty Jones to schedule your cooling system installation and get expert guidance from start to finish.