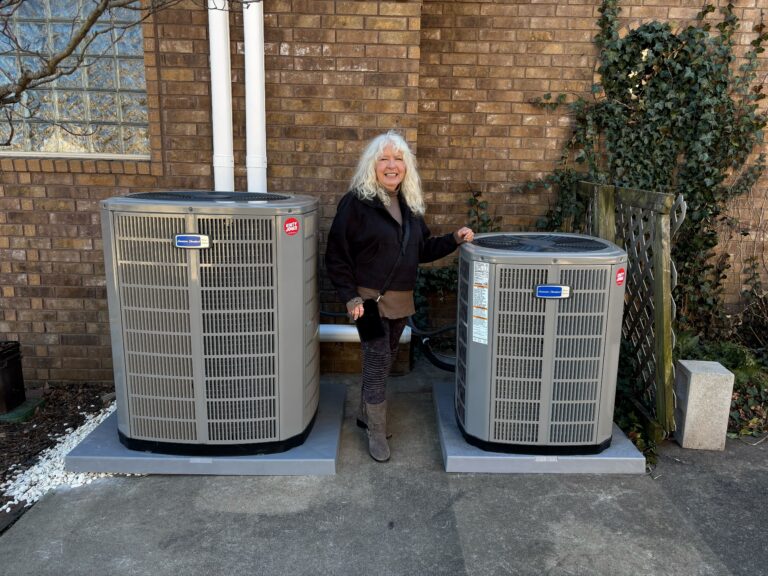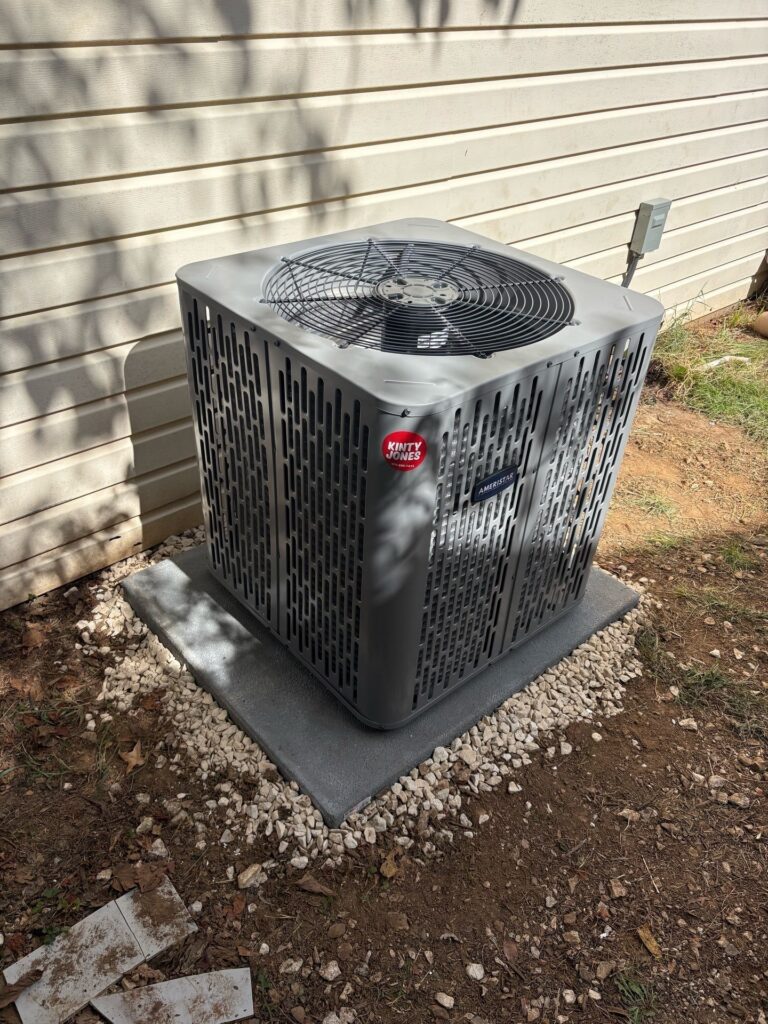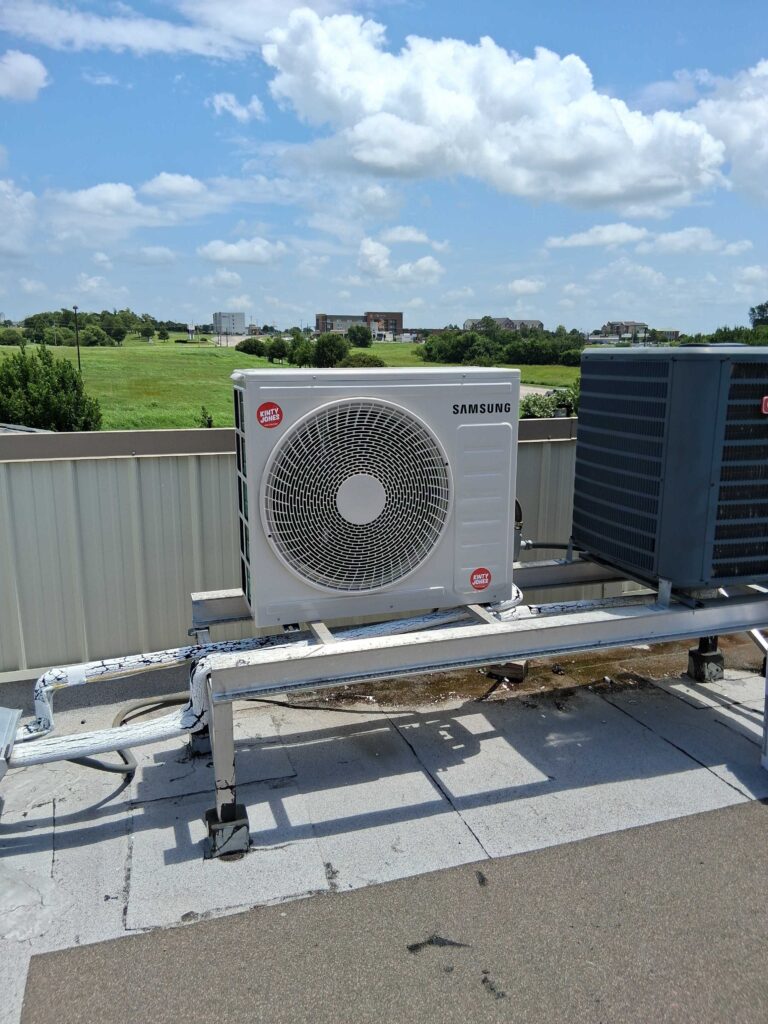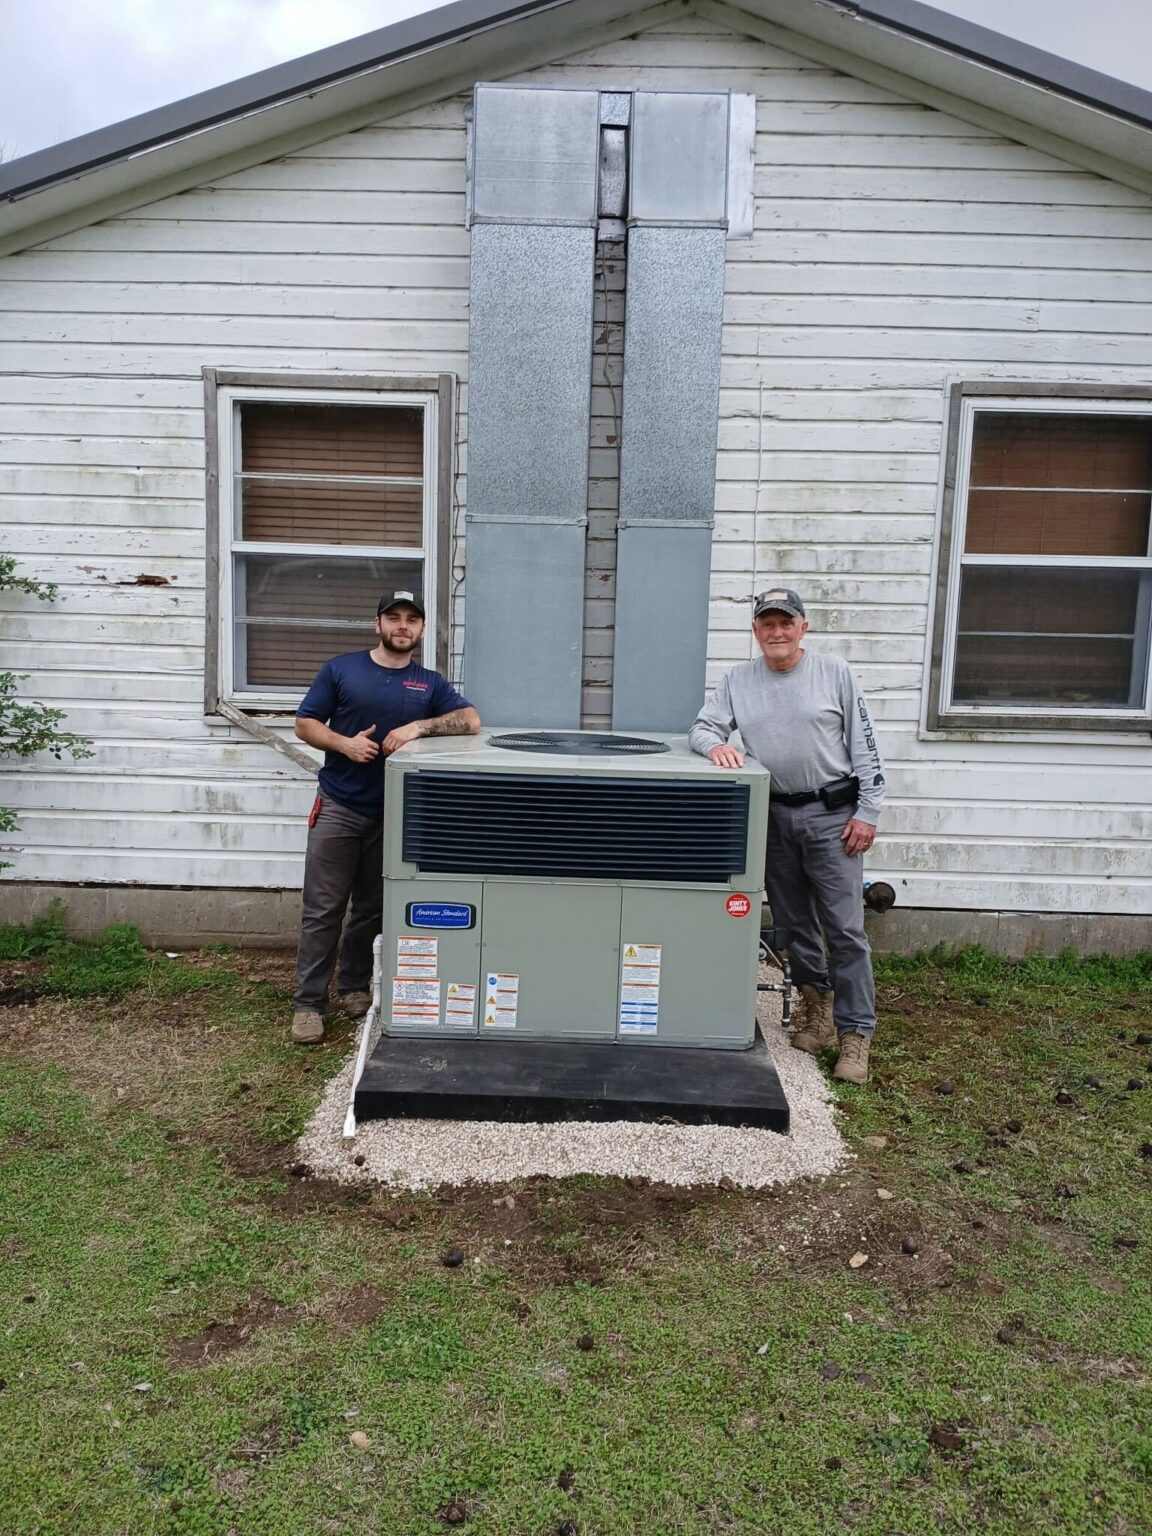
Installing a new air conditioning system is a big decision for any homeowner. You want to make sure your home stays cool during hot summer months, but you also need to understand what the process involves and what it will cost. Getting the right AC unit installed correctly can make a huge difference in your comfort and energy bills.
Professional AC installation services handle everything from helping you choose the right system size to setting up your new unit and making sure it works properly. The installation process is more complex than it might seem at first. It requires specific tools, technical knowledge, and experience to do the job safely and effectively.
This guide will walk you through what you need to know about AC installation services. Here’s what you need to know:
- Why professional AC installation matters
- Air conditioning system options for homes
- What happens during an AC installation service
- Key factors influencing AC installation cost
- Post-installation AC system maintenance
Keep reading to learn how proper installation protects your investment, what system fits your home, and what to do after the job is done to keep your unit running for years.
Why professional AC installation matters
Professional installation determines how well your AC system performs from day one and affects your energy bills, comfort levels, and how long the equipment lasts.
Proper system sizing for optimal cooling efficiency
Your AC unit needs to match your home’s specific cooling requirements. A system that’s too small will run constantly without reaching your desired temperature. A system that’s too large will cycle on and off repeatedly, wasting energy and failing to remove humidity properly.
Professional HVAC installation services include detailed load calculations that account for your home’s square footage, insulation quality, window placement, and local climate. These calculations ensure you get a unit that’s neither underpowered nor oversized.
According to the U.S. Department of Energy, oversizing HVAC equipment leads to reduced efficiency, increased wear on components, and elevated indoor humidity during summer months, yet most installations are completed without sophisticated load calculations, meaning oversizing remains widespread. When experts size your system correctly, you get consistent cooling throughout your home without wasting energy.
The right-sized system maintains consistent temperatures throughout your home while using the least amount of energy. It also prevents the wear and tear that comes from units working too hard or cycling too frequently.
Correct installation to prevent energy loss
Even the most efficient AC unit loses performance when installed incorrectly. Refrigerant levels must be precisely measured and charged to manufacturer specifications. Ductwork needs proper sealing at every joint to prevent cooled air from escaping into attics or crawl spaces.
Professional technicians test airflow rates and adjust settings to match your system’s design. They position the outdoor unit away from heat sources and ensure proper drainage to prevent water damage. Poor refrigerant charging alone can reduce efficiency by up to 20%, which means higher monthly bills for the same cooling output.
Electrical connections require specific wire gauges and breaker sizes. Incorrect wiring creates safety hazards and can damage your new equipment before its time.
Ensuring long-term system reliability and lifespan
Professional installation protects your investment by setting up your system to last 15 to 20 years instead of failing prematurely. Technicians verify that all components work together correctly and that nothing is under excessive stress.
Your manufacturer’s warranty often requires professional installation to remain valid. Installing the unit yourself or hiring an unlicensed contractor can void this warranty entirely, leaving you responsible for expensive repairs.
HVAC installation services include testing all safety controls, checking for proper condensate drainage, and verifying that thermostats communicate correctly with your system. These details prevent common problems like frozen coils, compressor failure, and water leaks that lead to costly repairs down the road.
Air conditioning system options for homes
Different cooling systems work better for different homes based on size, existing infrastructure, and budget. Each type offers distinct advantages for residential cooling system installation projects.
Central air conditioning systems for whole-home cooling
Central air conditioning provides consistent cooling throughout your entire home using a network of ducts. The system includes an outdoor compressor unit and an indoor air handler that distributes cooled air through vents in each room.
This option works best if your home already has ductwork in place. Installation costs range from $5,000 to $12,000 depending on your home’s size and the system’s efficiency rating. You’ll need adequate space outside for the condenser unit and proper attic or basement access for the air handler.
Central systems cool multiple rooms at once with one thermostat. They also filter air throughout your home and operate quietly since the main unit sits outside. Regular maintenance keeps these systems running efficiently for 15 to 20 years.
Ductless mini-split systems for flexible installation
Ductless mini-splits connect an outdoor compressor to one or more indoor air-handling units mounted on walls or ceilings. Small refrigerant lines run between the outdoor and indoor components through a three-inch hole in your wall.
These systems work well for homes without existing ductwork or for cooling specific rooms. You can install up to eight indoor units on one outdoor compressor. Each indoor unit has its own thermostat for zone control.
Installation costs typically run $3,000 to $5,000 per indoor unit. The process takes one to two days and doesn’t require major construction work. Mini-splits operate quietly and efficiently since they don’t lose cooled air through ductwork. They’re ideal for additions, garages, or older homes where adding ducts isn’t practical.
Heat pumps as energy-efficient cooling solutions
Heat pumps cool your home in summer and provide heating in winter by moving heat rather than generating it. They transfer heat outside during warm months and bring it inside during cold months.
Air-source heat pumps cost $4,000 to $8,000 for installation. They connect to existing ductwork like central air systems or work as ductless units. Modern heat pumps operate efficiently in temperatures down to 5°F.
According to the U.S. Department of Energy, today’s heat pumps can cut electricity use for heating by up to 75% compared to electric resistance systems, and they also outperform standard central air conditioners in dehumidification during summer. Heat pumps qualify for federal tax credits and utility rebates in many areas, reducing your upfront investment.
What happens during an AC installation service
Professional technicians follow a structured process to ensure your new AC unit works efficiently and safely. The installation involves evaluating your home’s cooling needs, removing your old equipment, and setting up the new system with proper testing.
In-home assessment and load calculation process
The technician starts by measuring your home’s square footage and examining each room that needs cooling. They check your insulation quality, window placement, ceiling heights, and how much sunlight enters your space throughout the day.
A load calculation determines the exact cooling capacity your home requires. This calculation accounts for your local climate, the number of people living in your home, and heat generated by appliances and electronics. Without this step, you might end up with a system that’s too small to cool effectively or too large, which wastes energy.
The technician also inspects your existing ductwork for leaks, damage, or improper sizing. They evaluate whether your current electrical system can handle the new unit’s power requirements. You’ll receive recommendations for any necessary upgrades to your electrical panel or ductwork before the central AC installation process continues.
Removal of old system and preparation work
The crew disconnects your old AC unit from the electrical supply and refrigerant lines. They recover the refrigerant from your old system according to EPA regulations rather than releasing it into the atmosphere.
Workers remove the outdoor condenser unit and indoor air handler or evaporator coil. They clear the installation area of debris and check that the mounting pad or platform for the outdoor unit is level and stable. Any damaged concrete pads get replaced at this stage.
The team prepares new refrigerant line pathways if needed and installs any required electrical upgrades. They verify that all mounting locations meet manufacturer specifications and local building codes.
Installation, testing, and system calibration
Technicians position the outdoor condenser unit on its pad and secure it properly. They install the indoor air handler or furnace with the evaporator coil, ensuring proper clearances for airflow and maintenance access.
The crew runs new refrigerant lines between the indoor and outdoor units, using proper insulation and support brackets. They connect electrical wiring, install the thermostat, and link all components according to the manufacturer’s specifications.
After connections are complete, technicians vacuum the refrigerant lines to remove moisture and air. They charge the system with the exact amount of refrigerant specified for your unit. The team tests all electrical connections, measures airflow at each vent, and checks the temperature difference between supply and return air.
They program your thermostat settings and run the system through multiple cooling cycles. Final calibration ensures your new AC unit installation operates at peak efficiency and meets performance standards.
Key factors influencing AC installation cost
The final price for installing an air conditioning system depends on several critical elements. Your total investment typically ranges from $3,000 to $15,000, with most homeowners spending between $5,000 and $8,000.
Size and type of AC unit selected
The air conditioner you choose directly impacts your installation cost. Central air systems cost more than window units or ductless mini-splits because they require more equipment and labor.
Your home’s square footage determines the unit size you need. A 1,500 square foot home requires a smaller system than a 3,000 square foot home. Larger units cost more to purchase and install.
Different system types come with different price tags:
- Central air systems: $5,000-$15,000
- Ductless mini-splits: $3,000-$10,000
- Window units: $150-$1,500
- Heat pumps: $4,000-$12,000
Energy-efficient models with higher SEER ratings cost more upfront but reduce your monthly utility bills. The equipment itself accounts for roughly 40-60% of your total air conditioner installation cost.
Ductwork condition and modifications required
Your existing ductwork plays a major role in installation expenses. Homes with damaged or outdated ducts need repairs or replacements before installing a new system.
New ductwork installation adds $2,000-$5,000 to your project cost. If your home has no existing ducts, you’ll pay more for a complete duct system installation.
Even minor duct modifications increase your total price. Sealing leaks, adding vents, or rerouting sections requires extra materials and labor time. Your technician must ensure proper airflow throughout your home for the system to work efficiently.
Labor complexity and installation time
Professional installation makes up 30-50% of your total project cost. Labor rates vary by location and the difficulty of your specific installation.
Complex jobs take longer and cost more. Installing a system in a home with limited attic access or tight spaces requires extra work hours. Your technician’s experience level also affects the hourly rate you pay.
Basic installations take 4-8 hours, while complicated projects need 2-3 days. Permit fees add $50-$400 depending on your local requirements. Service fees cover the technician’s time, expertise, and equipment needed to complete the installation properly.
Post-installation AC system maintenance
Proper care after installation keeps your air conditioner running efficiently and helps you avoid expensive repairs. Regular upkeep extends your system’s lifespan and maintains consistent cooling performance throughout your home.
Routine filter changes and system upkeep
Your air filter needs replacement every 1-3 months depending on usage and household conditions. Homes with pets, allergies, or high dust levels require more frequent changes. A clogged filter restricts airflow and forces your system to work harder, which increases energy bills and causes unnecessary wear.
Check your filter monthly by holding it up to light. If you can’t see through it clearly, replace it immediately. Most systems use standard sizes available at hardware stores, but verify your dimensions before purchasing.
Beyond filters, keep your outdoor unit clear of debris. Remove leaves, grass clippings, and dirt within two feet of the unit. Trim back vegetation and rinse the exterior fins gently with a garden hose to remove built-up grime. Indoor vents also need attention — vacuum them regularly to prevent dust circulation.
Monitor your thermostat settings and ensure vents throughout your home remain open and unblocked by furniture or curtains.
Scheduling seasonal HVAC maintenance
Professional maintenance should occur twice yearly — once before cooling season and once before heating season. A qualified technician inspects refrigerant levels, tests electrical connections, lubricates moving parts, and identifies potential problems before they escalate.
Annual maintenance plans from HVAC companies often include priority scheduling, discounted repairs, and comprehensive system checks. These services cost between $100-200 per visit but prevent breakdowns that could cost thousands to fix.
During maintenance visits, technicians clean coils, calibrate thermostats, check drainage systems, and test safety controls. They measure airflow and temperature differentials to confirm your system operates at peak efficiency. This proactive approach reduces energy consumption by up to 15% and extends equipment life by several years.
Schedule appointments during spring and fall when demand is lower and technicians have more availability. A membership plan takes the guesswork out of scheduling and ensures your system gets looked at before problems develop.
Recognizing early signs of performance issues
Unusual noises like grinding, squealing, or banging indicate mechanical problems that need immediate attention. These sounds often signal loose parts, motor issues, or debris in the system. Ignoring them leads to complete system failure.
Watch for weak airflow from vents, which suggests ductwork leaks, blower problems, or refrigerant issues. Rooms that stay warmer than others point to distribution problems or insufficient capacity.
Higher utility bills without increased usage reveal efficiency loss. Ice formation on refrigerant lines, water pooling near your indoor unit, or frequent cycling on and off all require professional diagnosis.
Strange odors also deserve immediate attention. Musty smells suggest mold growth, while burning smells indicate electrical problems. Address these issues promptly to prevent health hazards and system damage. Your system should run quietly and maintain consistent temperatures without constant adjustments. If problems arise between scheduled visits, emergency AC service is available when you can’t wait.
Conclusion
Getting your AC installed properly sets you up for years of reliable cooling. You need trained technicians who understand the technical side of sizing units, handling refrigerants, and setting up electrical connections safely.
Professional installation protects your investment. When you hire qualified experts, you get warranties on both the equipment and the work. You also avoid the common mistakes that lead to poor performance and higher energy bills.
Your choice of installation company matters. Look for certified technicians with experience in your type of property. Check if they offer emergency services and ongoing maintenance plans.
Don’t rush the installation process. Take time to get quotes from multiple companies. Ask about their certifications, insurance coverage, and service guarantees. Read reviews from other customers in your area.
Your AC system should last 10 to 15 years with proper installation and regular maintenance. Spending extra time finding the right installer now saves you money and frustration later. Contact Kinty Jones to schedule your AC installation consultation and get your home cooling system set up the right way.